I kicked this up a notch and into next week! This is melted crayon art ... on steroids! Ok ... maybe not the juice, but definitely melted crayon art on Happy Pills :)

"Under the Sea" Coral crayon art with fish friends

"Wild Flowers" with crayon stems and wooden flowers
I've seen them on Pinterest for awhile now ... everyone is doing them, which made it less appealing to me. All of them were the same, rainbows blasted onto a white canvas. Nice. Sweet. Fun for the kids, sure ... but I wanted more. Then I stumbled upon this and her beautiful creation sparked a new interest in the pinterest project.
I bought a double pack of white canvas for $7 at a craft store (Hobby Lobby, but only because there are no Michael's nearby). I already had the crayons, so I only had to pick up the tacky glue and the lil' creatures/flowers. My Hobby Lobby had the wooden characters for a mere 40 cents a piece on clearance!!! To say that I stocked up would be a gigantic understatement. *** I adore the wooden decorations - I have had the jungle animals on the kid's bathroom wall for the last three years, which means on three different bathroom walls! They never fall off, they don't destroy the walls, and in three moves, they have never broken!!! *** Total cost for two projects (including crayons which were purchased at the Dollar Store) .....
Canvas (2) = $7.00
Crayons (7 boxes at the $1 Store) = $7.00
Tacky Glue = $3.00
Wooden Characters (9 @ .40 each) = $3.60
TOTAL = $ 20.60 !!!!!


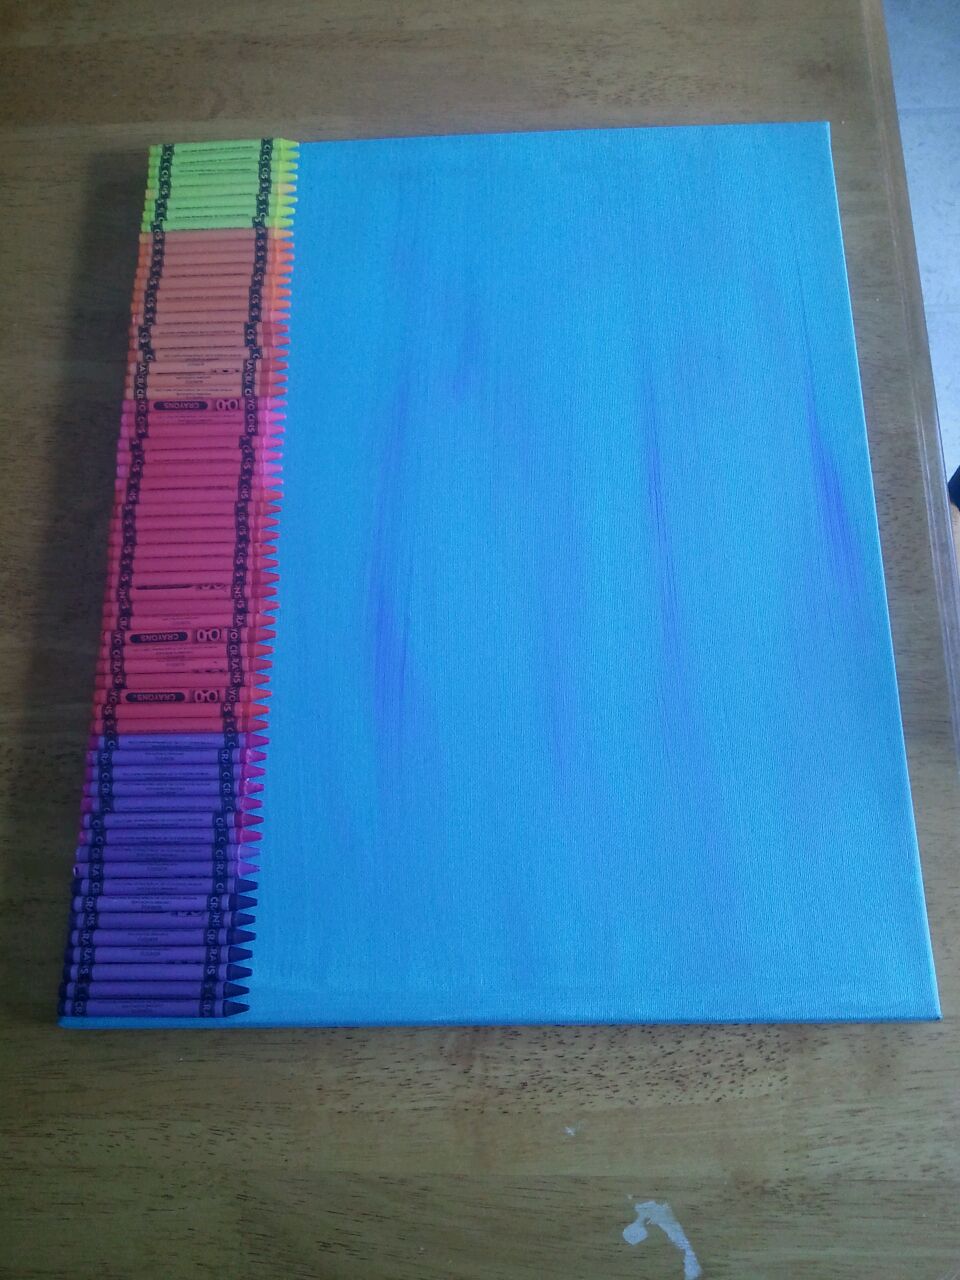
Glue the crayons onto the canvas with a super tacky craft glue. If you're painting the canvas first (as we did in the Under the Sea), let the paint dry COMPLETELY. Do it at night before you go to bed and then finish the project the next evening! Obviously, don't try to glue crayons onto wet paint. Ick.

Turn your hair dryer on a hot / low setting. Point directly at the center of the crayon and slowly move the dryer back and forth. As the crayons get hot, the wrappers will darken up and beads of "sweat" will form. I used cheapo crayons and a lil' bit of "water" melted off first before the color came through. I held the canvas at an angle while I did this and found it very easy to control the "drip". Keep the dryer pointed at the center of the crayon rather than the tip, as that will cause splatter. We had very lil' (practically no) splatter from the melting wax!!! I melted them by color group, focusing on one set before moving down the line to the next. The flower project was first, and a definite learning experience. I had too many clumps and not enough "stems" for my liking, but that's the great thing about this type of art. It's not going to be perfect. There will never be a duplicate. It's impossible to create straight lines that don't mix with another color. It's ok :) Tell your OCDness to take a back seat, and enjoy watching your children's faces light up over a homemade rainbow of sorts :)

Let the canvas sit for several minutes to allow the wax to harden. Use the tacky glue to adhere your decorations to your liking! We chose the "Wild Flower" scene and "Under the Sea" making the crayons flower stems and coral, but there are SO many more possibilities! The wax drippings are in your control, as far as length and width, so you can form them into whatever you want!


This was an awesome art project for the entire family! My 7 and 5 year old helped glue the crayons down, and then alternated on "tilting" the canvas for me during the melting process. My 2 year old helped glue the characters onto the final piece, and my husband hung them up :) They are a beautiful addition to our playroom!!!!
Happy Pinning!!!!